Submitting a paper to arXiv
Posted by David Zaslavsky on — CommentsBack when I first signed up for arXiv, I posted an explanation of their moderately complicated (but not really) system of identifying authors. So now that I have another paper up, and this time I’m the one submitting it, I thought I might as well put together an explanation of how that process works. So if you’ve ever wondered what is involved in submitting to the arXiv, read on!
-
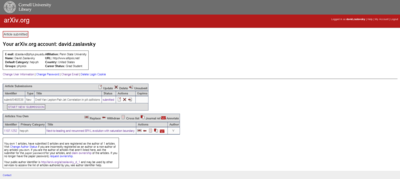
As the first step, if you don’t already have an account on arXiv, you have to create one. Once you do that, you start the submission process by going from your arXiv profile page, which looks like this:
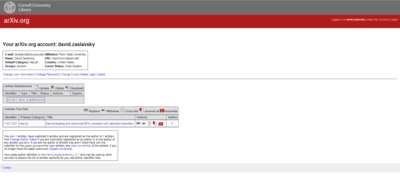
Clicking START NEW SUBMISSION brings you to the beginning of the submission form.
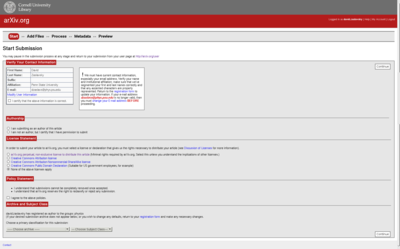
arXiv will ask you to verify that your email address and affiliation are correct (if they’re not, you go back to the profile page and change them, then you can restart the submission). It’ll also ask if you’re submitting as an author (the usual case) or non-author. Then you have to select a license. Normally the default option is the one to go with, because if you are going to be submitting this paper to a journal, they usually will want to own the copyright on the article. Only the default option here is compatible with that.
After that, you will have to agree to the arXiv posting policies (not much there) and choose a category (like
hep-ph) for your article to go in. If your article is going to be cross-listed among multiple categories, you get to specify that later; for this field, you pick one to be the primary category. -
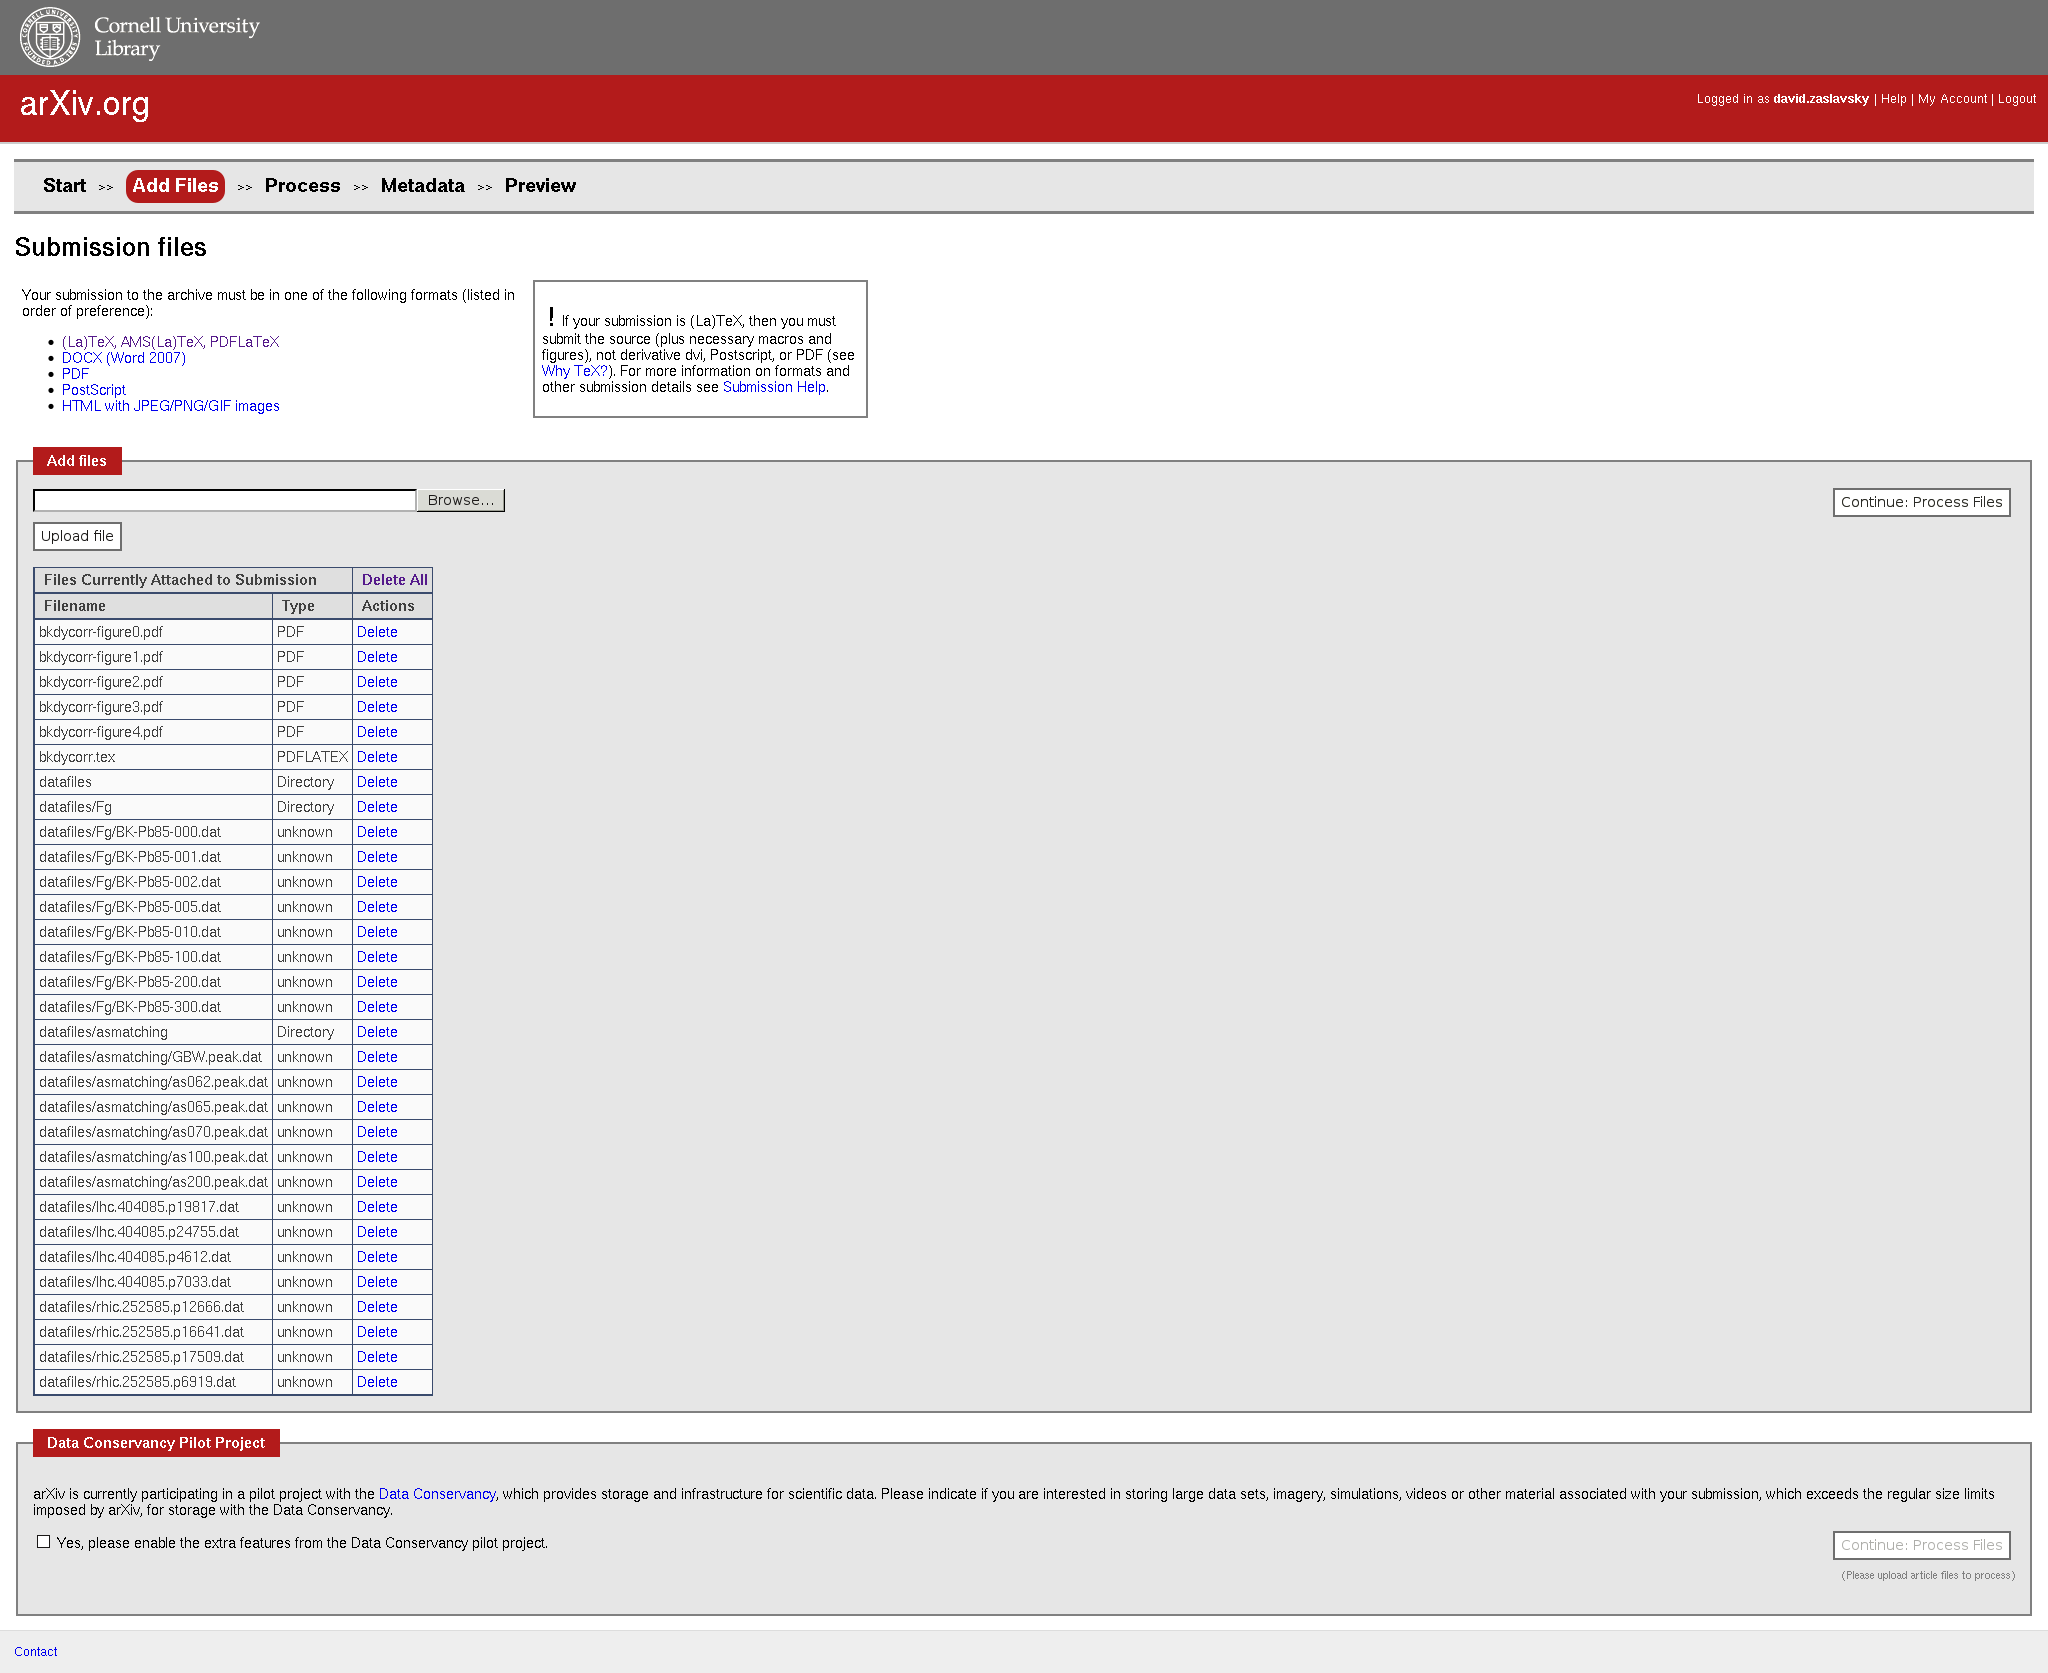
Here’s where the interesting part starts: you get to upload the files that constitute your paper.
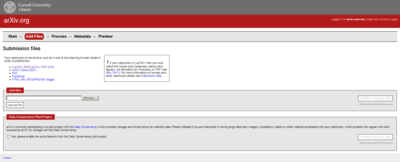
When you click in the file upload box (though don’t do it yet!), it will open up a window to allow you to choose a file to upload. You can only upload one file at a time. However, if your paper consists of multiple files, for example a main LaTeX document plus figures, you can pack them all up in a ZIP file or gzipped TAR file, then just upload the archive file, and arXiv’s system will automatically extract it. I recommend doing this for a couple of reasons:
- If you put all your files into a ZIP or gzipped TAR archive, you can test whether it’ll compile properly by just extracting the archive into a new folder on your computer running LaTeX on it. That’s an easy way to check whether you’ve left anything out.
- Also, uploading an archive file allows you to organize your files into folders. If your ZIP or GZT file contains folders, arXiv will keep that organization when it stores your submission. This can be really useful if you have small data files that contain the data you use to create your graphs (for example, if you create the graphs using PGFPlots as I like to do). You can include those data files in a folder within your archive, so that people can download the numbers along with your paper.
Before uploading, though, you should have a look at the links to directions for uploading various sorts of files. It’s worth reading through the directions carefully at least the first time you do this. For TeX-type submissions, the main point is that arXiv will attempt to automatically compile your TeX document using what is essentially a generic installation of TeXLive 2011 (that’s at the time I’m writing this; they upgrade every few years). They don’t run BibTeX or MakeIndex, so you will need to do that yourself (if necessary) and include their outputs with your submission. You can find more information in the full directions for TeX submissions on arXiv’s help site.
Once you have everything prepared, you can upload your files, and arXiv will give you a list like this:
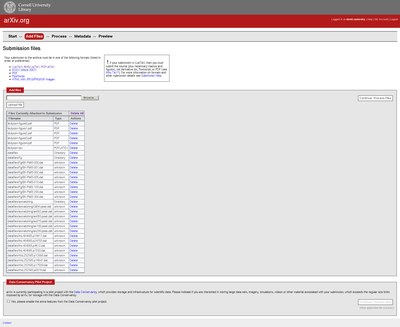
On to the next step: compilation!
-
For TeX-based submissions, the AutoTeX software on arXiv’s server will compile your submission and display the log, with a status message that indicates whether it succeeded or failed. (For other types of submissions, not TeX-based, I’m not sure what sort of processing is involved, but I don’t recommend doing that.) I’ve trimmed out most of the log from the screenshot below, but it’s basically the same thing you’d see if you run LaTeX or PDFLaTeX yourself.
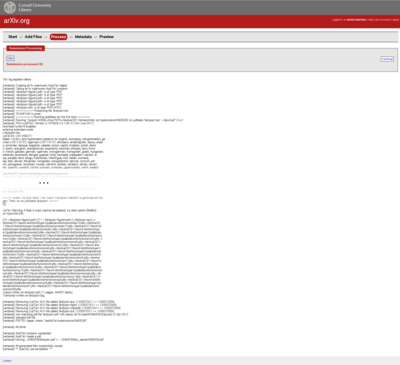
When it finishes, click “View” at the top to see the generated PDF file, and check it carefully for any errors. As long as the compilation succeeded, it should look pretty similar to what you’d get on your own computer, but you’ll want to be particularly sure that all your citation references came out okay and that the figures appear as they should.
-
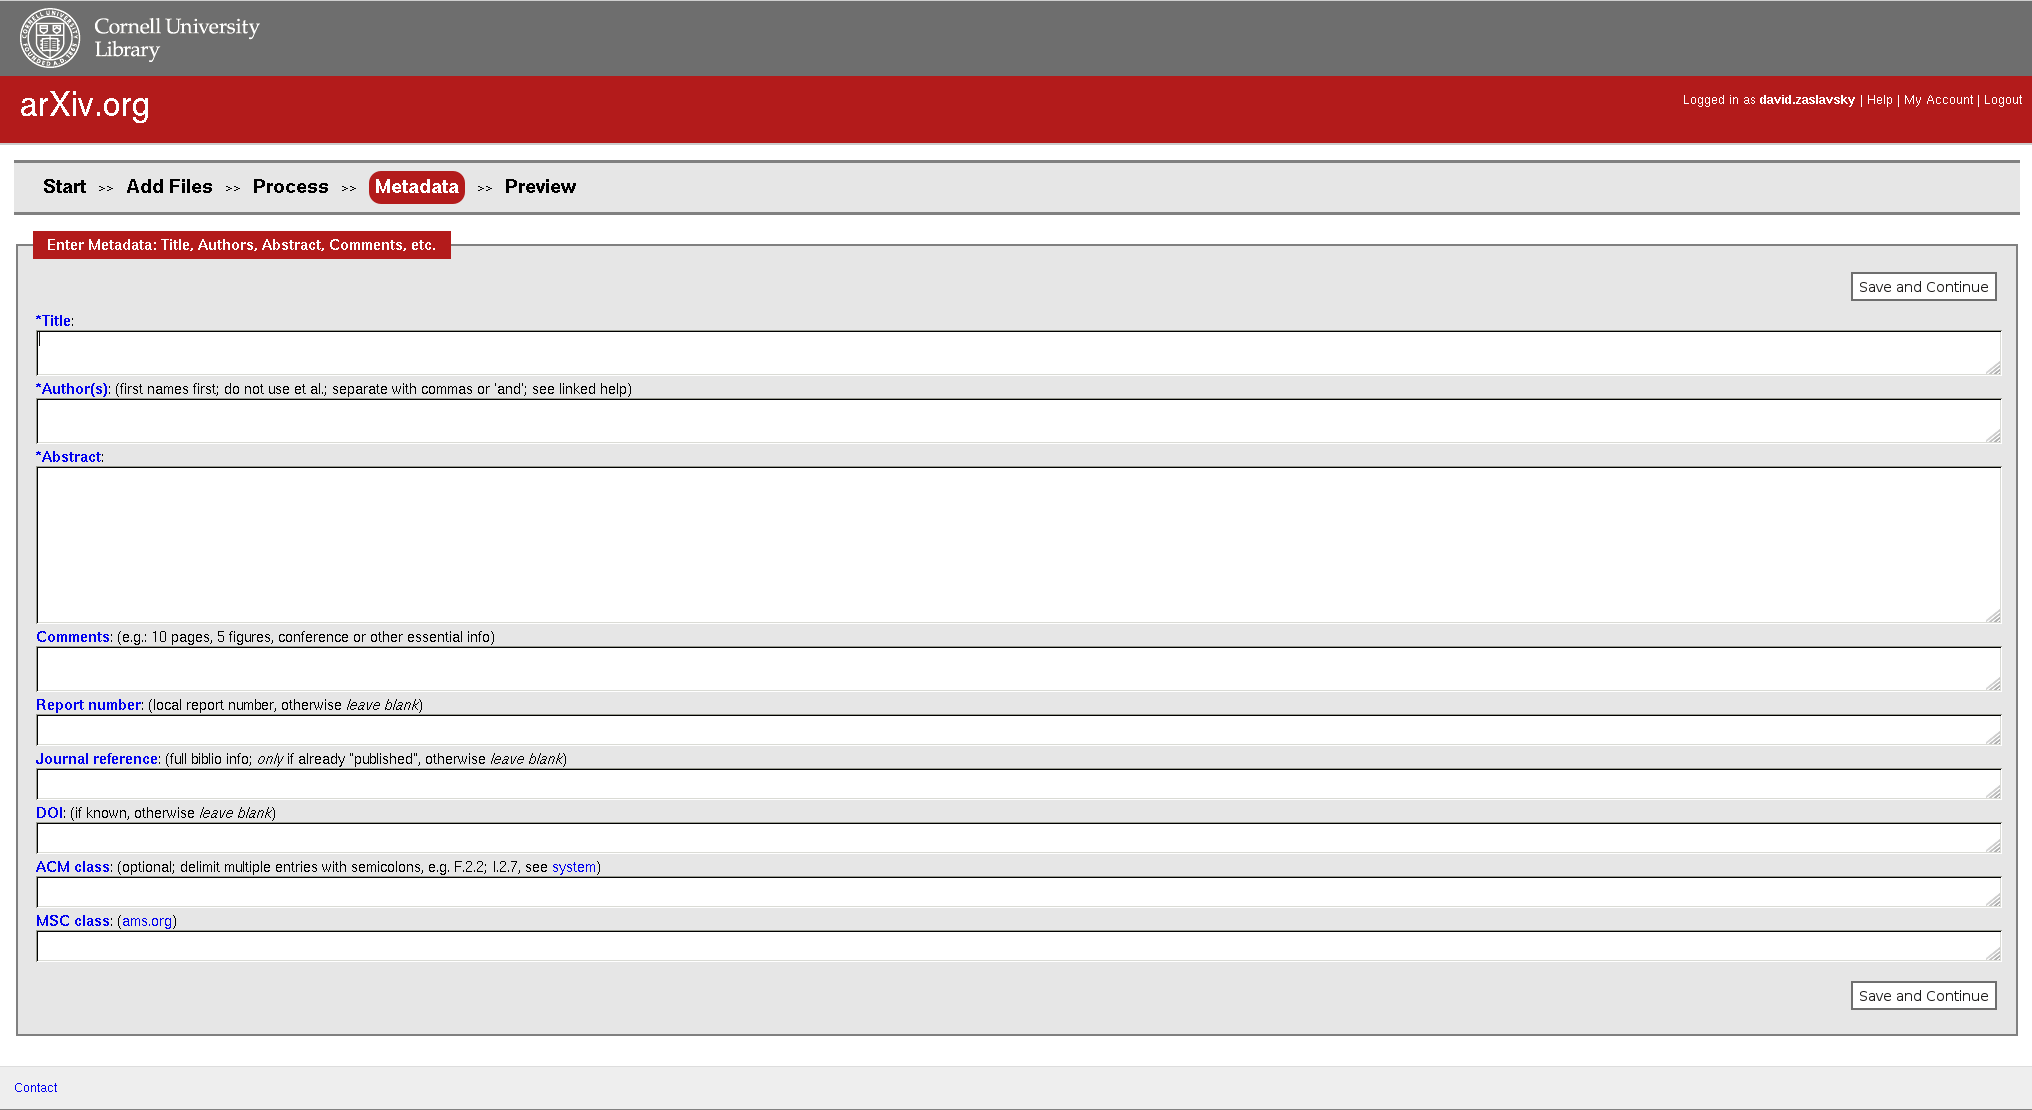
After your submission has compiled, you’ll be asked to specify metadata for the paper, including the title, authors, abstract, and so on. If you submitted a LaTeX file, it’s possible that arXiv could extract the information from there, but that’s not always guaranteed to work, and besides, for submissions made in Word or PDF format (yes, they’re out there), it’d be almost impossible to reliably extract the data. So they have you enter it manually.

One of the main reasons that you have to put this information in yourself is that this is meant to be human-readable, unlike the content of a LaTeX source file. In particular, any LaTeX macros you use in the paper’s title, authors, or abstract should get replaced with plain text variants. The only exception is a few accented characters, which arXiv knows how to interpret directly. (In fact, if you actually type in the accented characters themselves, arXiv will convert them to TeX-coding and ask you to confirm that it did so properly.) So for this step, you can basically copy and paste from your paper, just replacing any LaTeX macros as needed, and perhaps undoing any word wrapping on your abstract.
-
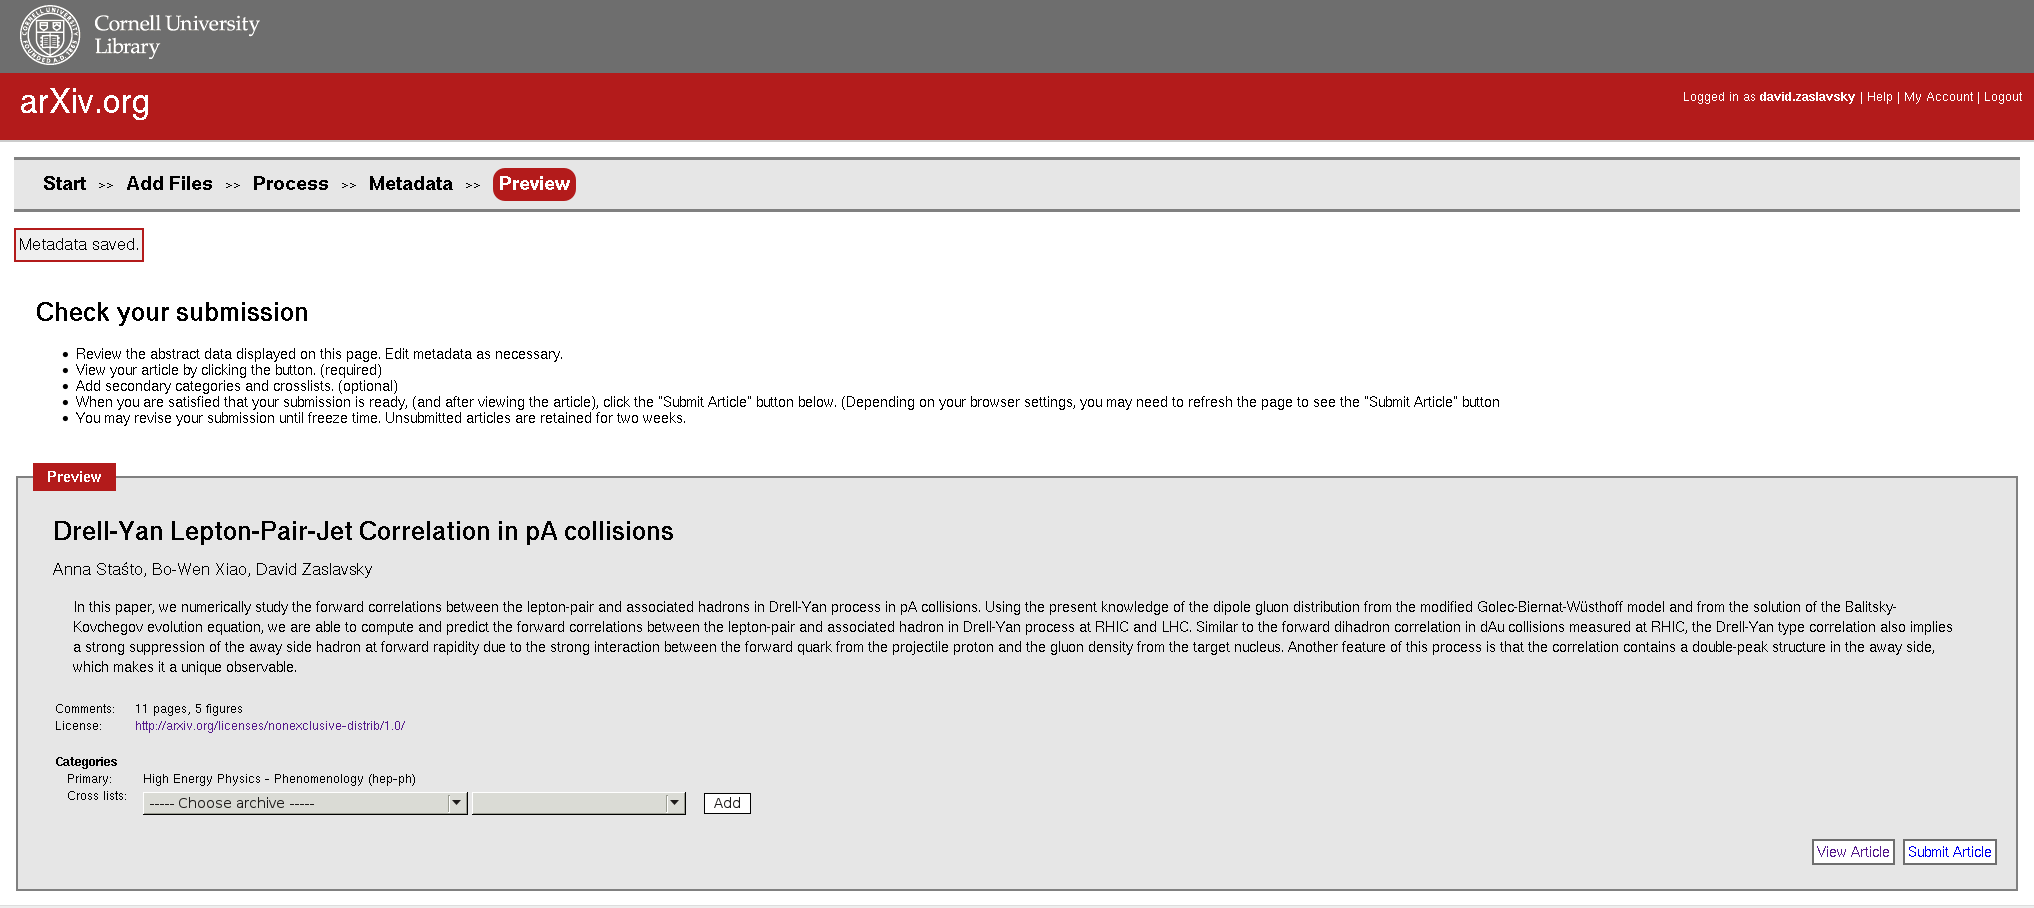
Finally, you get to review anything that has been entered up to this point. arXiv will show you a preview of what your submission page will look like (well, roughly), so you can verify that the metadata you just entered appears correctly. It also has a link to “View article,” which just shows you the same PDF file that was produced a couple screens back, so you can check it again if you want to.
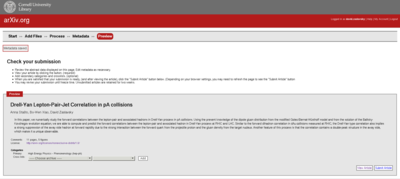
If you want to cross-list your paper under multiple categories, this is the time to specify that. Otherwise, as long as everything looks good, hit “Submit article” at the bottom right and your submission will be complete!
-
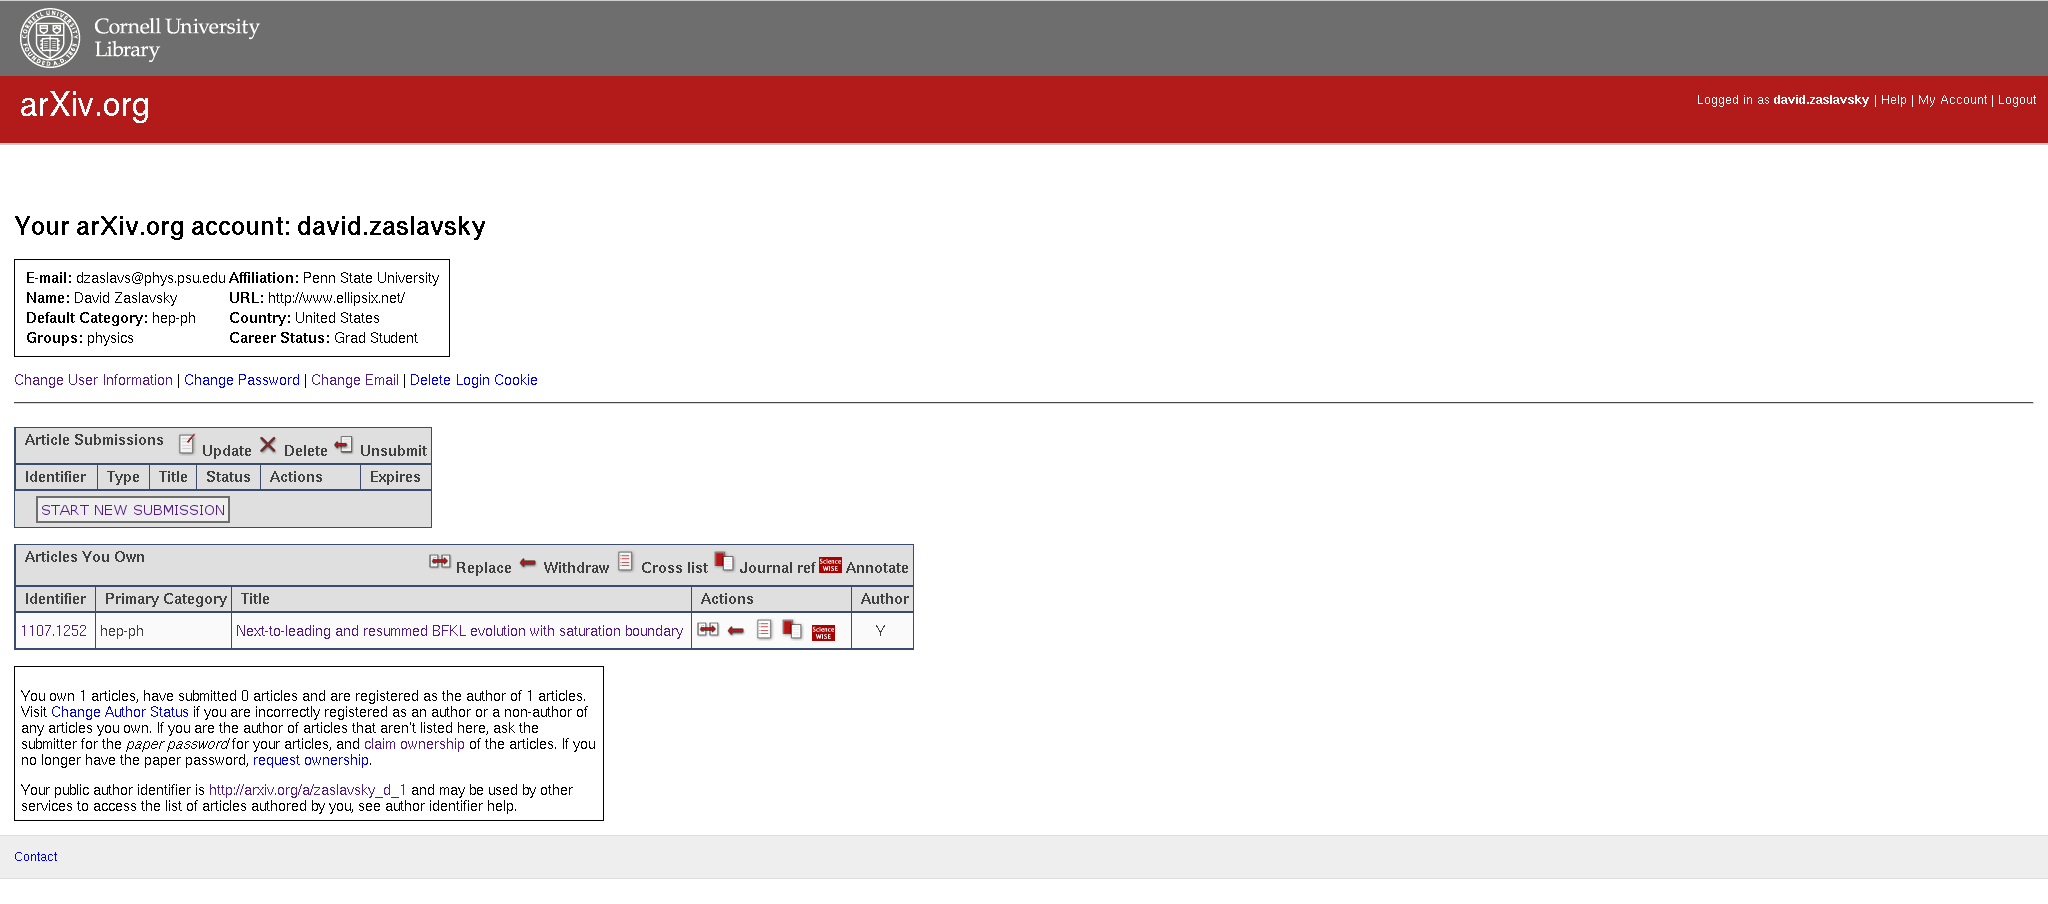
Once you’ve submitted, a row appears in your “Article submissions” table on your profile page that shows your new paper.
The paper doesn’t immediately show up online, though. At midnight UTC, arXiv posts all outstanding submissions that were received up until about 4 hours prior to that time (if I remember correctly), and they are also sent out in a daily mailing and published on the RSS feed. You’ll be notified by email when your paper is distributed and shows up on the website.


And that’s it!