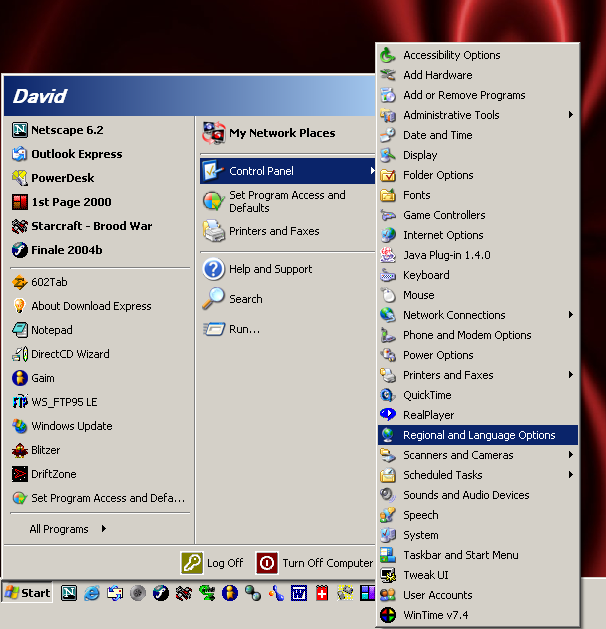
- The keyboard configuration dialog on Windows XP can be found in the Control Panel, as the Regional and Language Options applet.
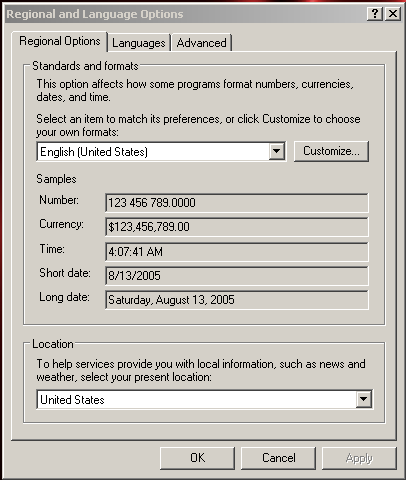
- This is the configuration dialog itself. The keyboard layout settings are on the Languages tab.
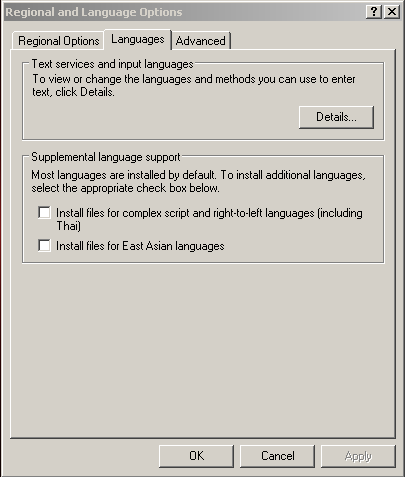
- Most keyboard layouts use syllabic or alphabetic character sets - Latin, Cyrillic, Arabic, and so on. All these character sets have a relatively small number of different characters, and so it's not hard for Windows to keep information on all of them. If you wanted to type using Chinese or Japanese characters, however - of which there are thousands - you'd need to have some extra software installed to allow your keyboard to handle them. That's what the checkboxes are for. For now, we're only interested in the Details button in the top section.
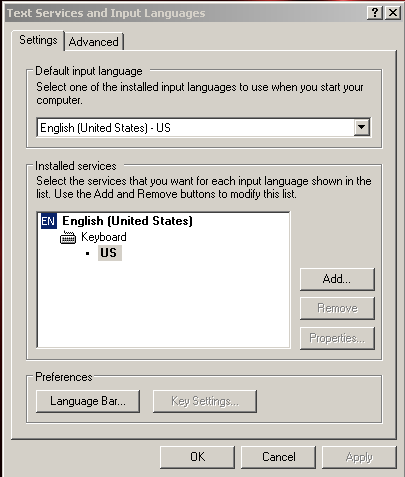
- This dialog comes up when you click the Details button from the last step. The bottom section shows you which keyboard layouts are available; the top section lets you choose one of those to be the default. You might have multiple options in the list already; in this example, there is only one: English (United States) with a US keyboard layout. At this point, click Add to put in a new keyboard layout.
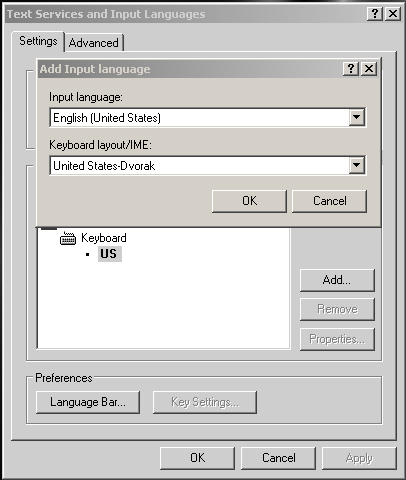
- A dialog pops up which allows you to select an input language and keyboard layout to add. You can mix-and-match the two choices as you like; any input language can go with any keyboard layout. In fact, the input language that you choose (on top) doesn't even matter - it doesn't affect anything in your computer (specifically, it doesn't make text in programs show up in other languages). It'll be less confusing later on, though, if you select a language that matches the keyboard layout. For this example, since we're adding another U.S. keyboard layout, the language is best left alone. Click the down-arrow to the right of the keyboard layout list to open it.
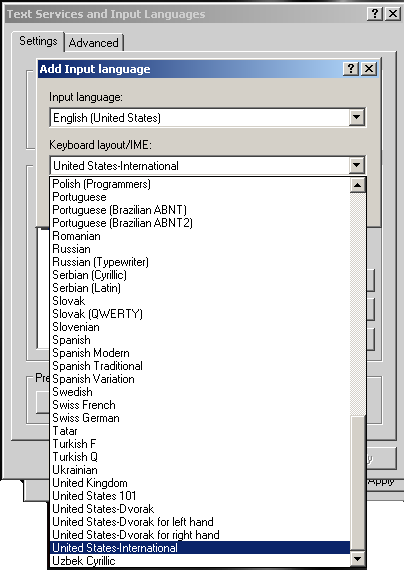
- When the list drops down, you'll probably see a large number of keyboard layouts, as shown here, although the specific contents of your list may vary. In general, the layouts are named for the kind of keyboard they are meant to represent, with further details afterwards or in parentheses. Thus all the layouts whose names begin with "United States" are designed for the kinds of keyboards used in the US. The United Kingdom layout is designed to match the kinds of keyboards used in the United Kingdom, which are slightly different.
In this example, there are several layouts for United States keyboards, including one for a 101-key keyboard and several variations on the Dvorak layout (an alternative to the traditional QWERTY). The plain old US layout which we saw back in step 4 is not here, since it's already in the list of available keyboard layouts and there would be no point in trying to put it there again. Select the layout that you want to add — here it's United States - International — and click OK in the dialog box.
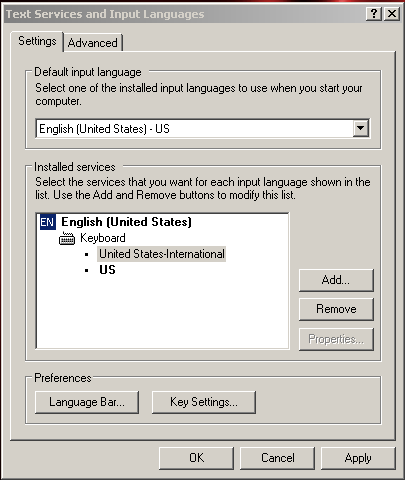
- The new keyboard layout has been added to the list of available layouts. Notice how it's under the category English (United States); this corresponds to the input language selected in step 5. If you had picked a different input language, there would be another heading corresponding to that langauge, with the new keyboard layout under it.
If you want, you can make your newly selected keyboard layout (or any of the available layouts) the default, meaning that it will be the one that is in effect when you start Windows. Just make your choice from the drop-down list in the top section. Either way, to finish the process, click OK.
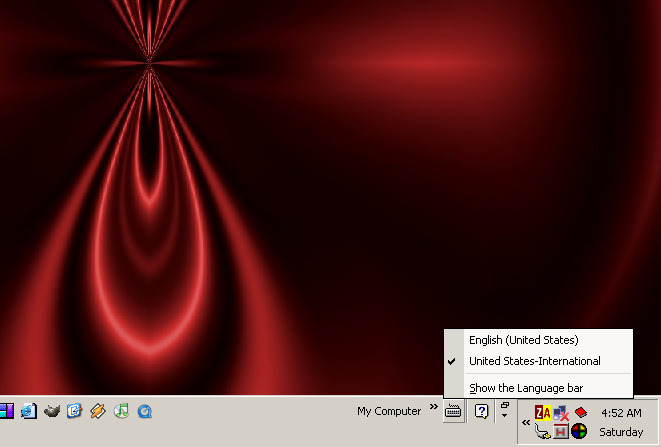
- If you have more than one keyboard layout in your list of available layouts, a small keyboard icon may show up near the bottom right of the screen, on the taskbar. Clicking on that icon brings up a list of the available keyboard layouts. You can select a layout from the list to put it into effect, replacing the previous selection. Your new choice stays in effect until you choose another one or you log out of Windows.